


Using a home laser engraver can be very fun. However, safety is the most important thing to remember. This tool uses a strong laser beam to carve designs on materials like wood, plastic, or leather. It is great for making custom gifts, decorations, or small business items.
Understanding Home Laser Engravers
How Home Laser Engravers Work
A home laser engraver uses a strong laser to make designs. This process, called laser engraving, uses heat to remove material. The laser heats the surface until it turns into gas, leaving marks. These marks are clear and stay forever.
Many things affect how well the engraver works:
-
Power Supply: A steady power source keeps the laser working properly.
-
Cooling System: This stops the laser from getting too hot.
-
Focal Point Adjustment: Set the right distance for good depth and detail.
-
Laser Power Settings: More power makes deeper marks but can harm soft materials.
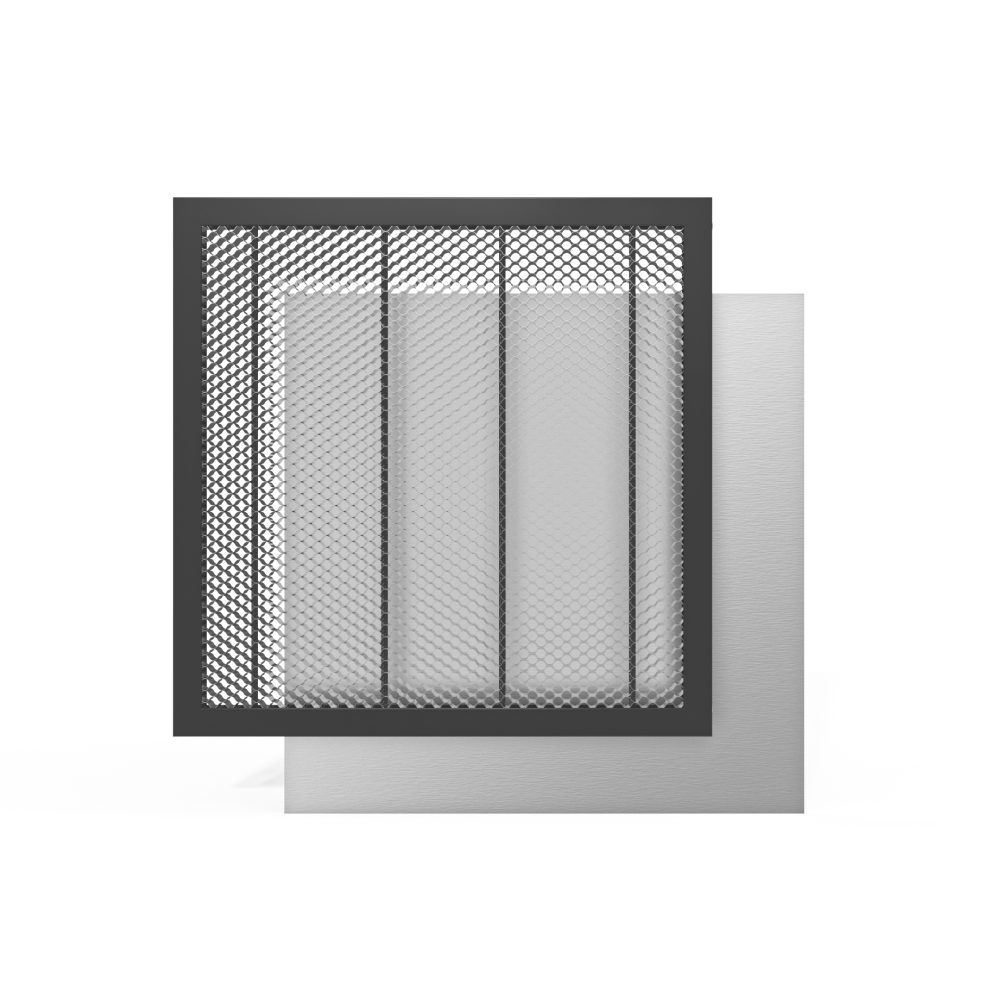
Good airflow is very important. The heated material turns into gas and can make fumes. Use a fan or filter to handle these fumes safely.
Types of Home Laser Engravers
CO2 Laser Engravers
CO2 laser engravers are a popular choice for home use, offering versatility in the materials they can handle. They work well on wood, leather, acrylic, and even glass – a material that diode lasers typically cannot process. These engravers use a gas mixture to generate the laser beam, making them suitable for detailed, creative projects.
Diode Laser Engravers
Diode laser engravers are compact and more affordable, making them ideal for beginners. While simple to use, they are best suited for softer materials like wood and plastic. They are less powerful than CO2 lasers and have limitations in the range of materials they can effectively engrave.

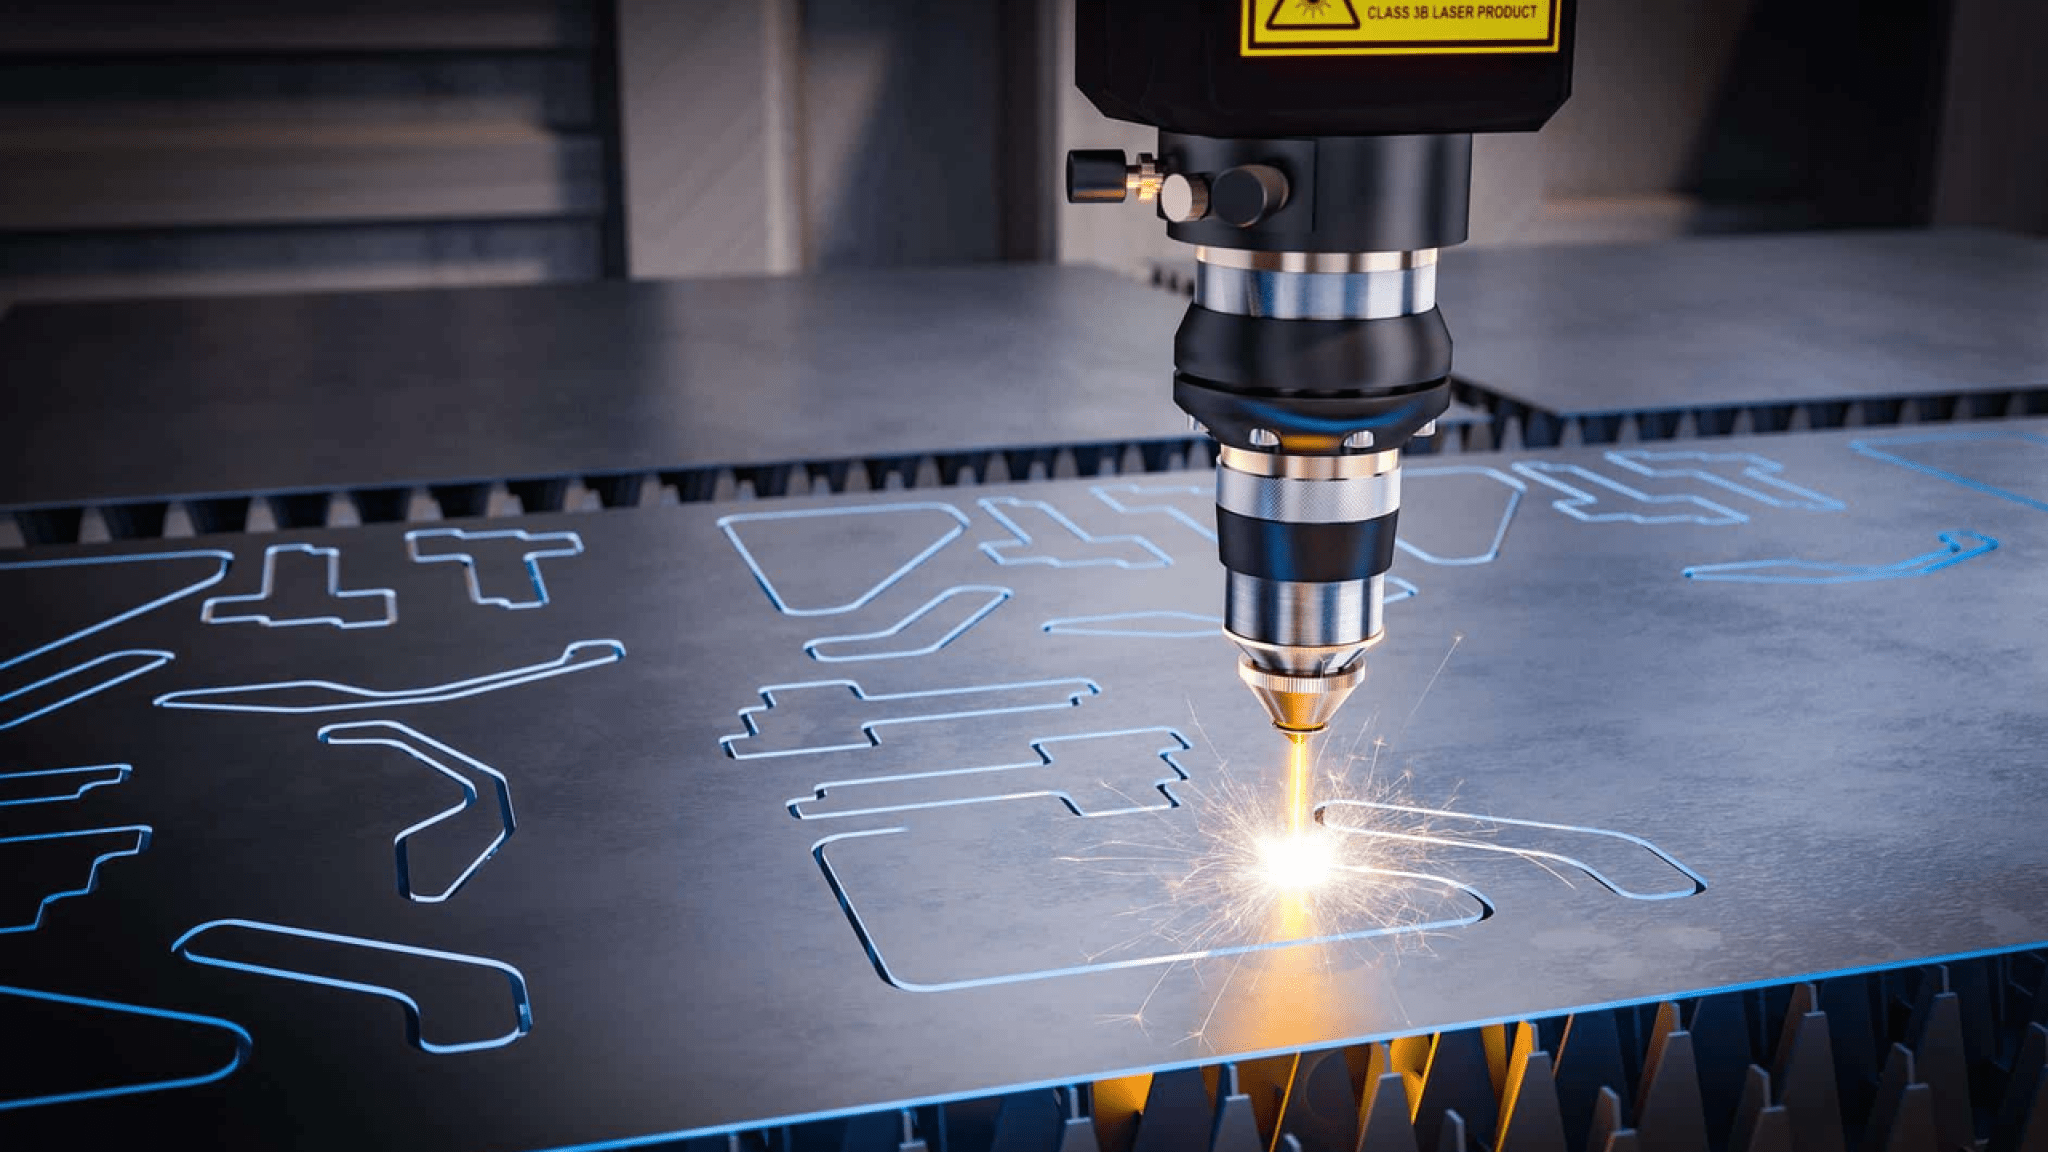
Fiber Laser Engravers
Fiber laser engravers represent a more advanced technology, primarily used for marking and engraving metals. They utilize fiber optic cables to create a highly focused laser beam, delivering exceptional precision. This makes them perfect for applications like jewelry or tool marking. While more expensive, their strength lies in their ability to work with a wide variety of metals, a capability that sets them apart from CO2 and diode lasers.
Essential Safety Precautions
Ventilation and Fume Management
Setting Up Good Ventilation
Laser engraving makes fumes that can harm your health. Some materials, like acrylic, release toxic gases that irritate your eyes, nose, and throat. Work in a space with good airflow to stay safe. Use a smoke extractor or air purifier to remove harmful fumes from the air.
Using Fans or Filters for Fumes
A good exhaust system is key to handling fumes. Use fans to push smoke outside or filters to trap harmful particles. Wearing a respirator mask can give extra protection. Keeping your workspace clean and neat also lowers risks.
|
Source |
Measurement Type |
Limit (mg/m³) |
|---|---|---|
|
ACGIH |
TLV |
3 to 10 |
|
OSHA |
PEL |
5 (breathable) / 15 (total dust) |
Fire Safety
Keeping Your Workspace Safe
Fire safety is very important when using a laser engraver. Some materials can catch fire during engraving. Keep your workspace clear of flammable things. Set up your machine on a stable, dry surface. Always watch the engraving process to avoid fires.
Having Fire Extinguishers Ready
Keep a fire extinguisher nearby, especially one for electrical fires. Know the materials you are working with, as some make flammable dust or fumes. Being ready helps you stay safe while engraving.
Tip: Never leave your laser engraver alone while it’s running. Watching it closely can stop accidents.

General Safety Tips
Staying Safe from Laser Beams
Laser beams can hurt your eyes and skin badly. Never look at the laser, even if it seems weak. It can harm your eyes in seconds. Always wear safety glasses made for your laser type. These glasses block harmful light and protect your eyes.
Place your laser engraver on a steady, dry surface. Keep it away from sunlight and flammable items. This lowers the chance of accidents. Read the manual before using the machine. Learn about the risks and follow all safety rules.
Steps to avoid laser exposure:
-
Use the right safety goggles, especially for diode lasers.
-
Close the doors when using a CO2 laser.
-
Keep your workspace clean and well-ventilated.
Tip: Learning how to handle lasers safely can prevent accidents.
Keeping Kids and Pets Safe
Kids and pets are curious but should stay away from laser engravers. The machine’s moving parts and laser beam are dangerous. Set up your workspace in a secure area they can’t enter.
If possible, use a locked room or barriers to block access. Never leave the machine running without watching it. Even a short distraction can cause problems.
Teach older kids about the dangers of laser engravers. Explain why they must stay away and how the machine works. This helps them understand safety rules.
Note: A tidy and supervised workspace keeps everyone safer.
Material Safety for Home Laser Engraving
Safe Materials to Use
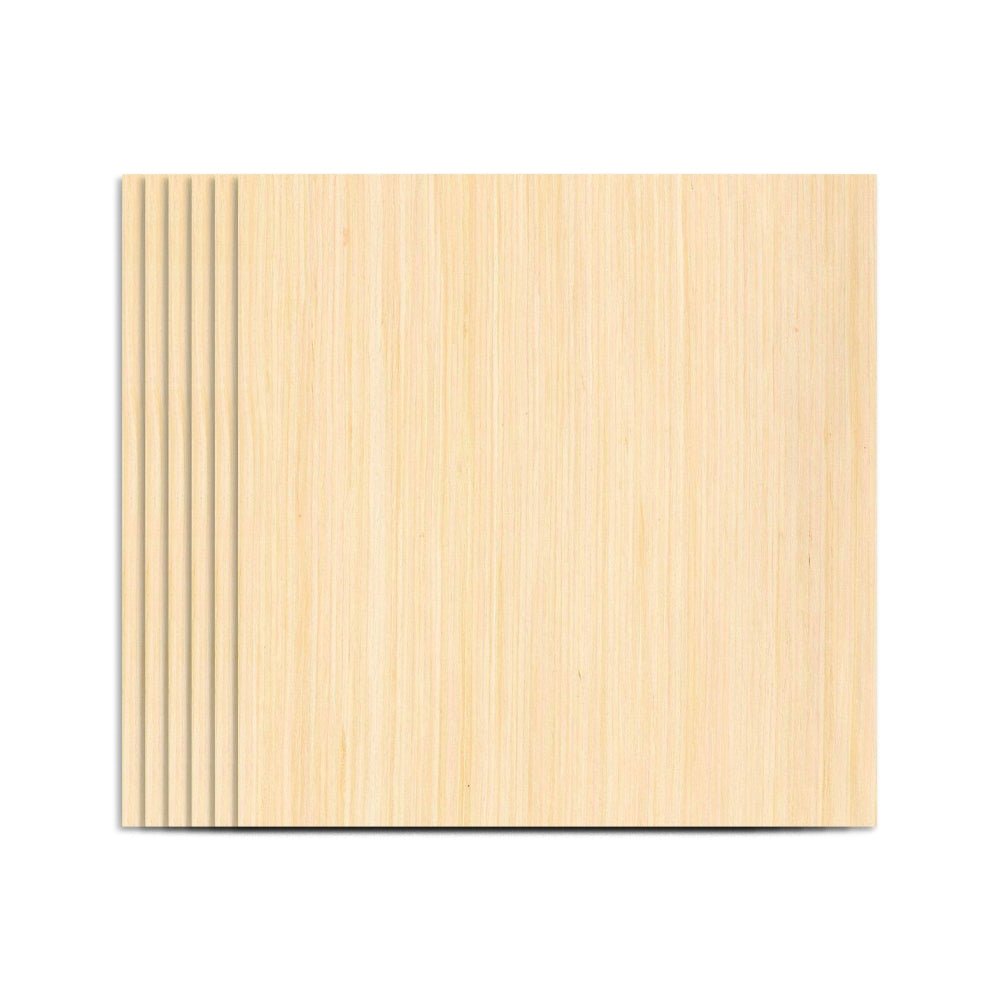
Wood
Wood is a favorite material for laser engraving. It lets you make detailed designs easily. Softwoods like pine and poplar are simple to engrave. Hardwoods like oak, cherry, and walnut are strong and look polished. Always use untreated wood to avoid harmful fumes.
Acrylic
Acrylic is flexible and cuts cleanly with sharp edges. It comes in many colors and sizes, perfect for signs or decorations. Engraving acrylic gives smooth, shiny edges that improve the final look.
Glass
Engraving glass creates a frosted look, great for detailed designs. It works well for gifts like wine glasses or awards. Use careful laser settings to prevent cracks or damage.
Leather
Leather is great for custom items like wallets or belts. It allows smooth and detailed designs. Cowhide and sheepskin are popular choices. Always use real leather, as fake leather may have harmful chemicals.
Tip: Check the MSDS Safety Sheet for any material to learn about risks before engraving.

Materials to Avoid
PVC and Vinyl
Never engrave PVC or vinyl. These materials release toxic chlorine gas, which is harmful to you and your machine.
Polycarbonate
Polycarbonate is not good for engraving. It gives bad results and releases fumes that can damage your laser engraver.
Unknown or Coated Materials
Avoid unknown or coated materials. They might have toxic chemicals. Always test materials or check their safety data before using them.
Testing New Materials
Conducting a Small Test Engraving
Test a small area before engraving a new material. This helps you see how it reacts to the laser and ensures your design will look good.
Checking for Toxic Fumes
Some materials release harmful fumes when heated. Work in a space with good airflow and watch for strange smells. If you notice anything unsafe, stop and use a safer material.
|
Safe Materials for Laser Engraving |
Unsafe Materials for Laser Engraving |
|---|---|
|
Wood (Cork, MDF, etc.) |
PVC and Vinyl |
|
Glass |
Polycarbonate |
|
Leather |
Fake Leather with Cr[VI] |
|
Acrylic |
Materials with Halocarbon compounds |
Note: Choosing safe materials makes engraving better and keeps you healthy.
Step-by-Step Guide to Using a Home Laser Engraver
Setting Up the Machine
Picking a Safe Workspace
Choose a safe spot with good airflow for your laser engraver. Keep the area clear of anything flammable and make sure it’s well-lit. Use fans or fume extractors to handle smoke and fumes. Place the machine on a sturdy, dry table to avoid accidents. Only let trained people enter the workspace.
Tip: Have a fire extinguisher nearby and check the emergency stop button.
Building and Positioning the Engraver
Follow the instructions to put your laser engraver together. Tighten all parts to stop shaking while it works. Set up the machine so the laser points away from you. Make sure the power source is steady and the cooling system works. Test safety locks to ensure they function correctly.
Preparing the Material
Cleaning and Securing the Material
Clean materials before engraving for better results. Remove dirt, oil, or fingerprints. Examples:
|
Material |
Preparation Steps |
|---|---|
|
Metal |
Wipe off oil and rust. |
|
Glass |
Use tape or wet paper to stop cracks. |
Hold the material firmly in place to stop it from moving.
Setting Focus and Power
Set the laser’s focus for clear and sharp designs. Adjust the nozzle distance by hand or use auto-focus if available. Pick power and speed based on the material. For example, with a diode laser cutting machine, different materials, or even the same material in different colors, require different power levels.
Operating the Laser Engraver
Testing Before Starting
Try a test engraving on a sample piece first. This helps you adjust settings for better depth and clarity. Change power, speed, or focus if needed. Repeat tests until the design looks perfect.
Watching While Engraving
Keep an eye on the machine while it works. Look for overheating or material shifting. Never leave the engraver alone while it’s running. Stop and fix any problems if they happen.
Note: Watching closely keeps you safe and avoids mistakes.
Post-Engraving Steps
Cleaning the Work Area
After you finish engraving, clean your workspace properly. Dust and leftover bits from engraving can pile up. Use a soft brush or vacuum to clear these particles. Wipe surfaces with a damp cloth to remove fine dust. This keeps your area neat and ready for the next project.
Good airflow is important for clean air. Engraving creates fumes that can stay in the air. A tidy workspace lowers these risks and keeps you safer. Also, removing clutter and flammable items reduces fire dangers.
Tip: Cleaning often helps your laser engraver last longer and work better.
Inspecting the Finished Product
When the engraving is done, check your work carefully. Look for mistakes like uneven lines or burn marks. If you see problems, change your settings for next time. For example, lowering laser power can stop burns on soft materials.
Feel the surface gently to find rough spots or leftover bits. Sand or polish if needed to make it look better. For glass or acrylic, use a microfiber cloth to clean smudges.
Checking your work makes sure it looks how you want. It also helps you improve your skills for future projects.
Note: Reviewing your work improves quality and builds your confidence with the machine.
Maintenance and Long-Term Safety Practices
Cleaning the Laser Engraver
Removing Dust and Debris
Cleaning your laser engraver helps it work better and last longer. Dust and small bits can gather on the machine, especially on moving parts. Use a soft brush or vacuum to clean these areas every day. Check the debris tray often, as leftover pieces can block the machine.
Clean the machine’s filters once a month for good airflow. This stops harmful particles from spreading and keeps the machine cool. Regular cleaning improves engraving quality and lowers the chance of overheating.
Tip: A clean engraver works better and avoids wearing out parts too quickly.
Cleaning the Laser Lens
The laser lens is very important for your engraver. Dirt or smudges on it can make the laser weaker and less accurate. Use a special lens cleaner and a soft microfiber cloth to clean it gently. Never use rough materials that might scratch the lens.
Check the lens every week for dirt or damage. If you notice problems, clean it right away. Taking care of the lens keeps the laser sharp and working well.
Regular Inspections
Checking for Wear and Tear
Regular checks help you find problems early. Look at belts, hoses, and wires every three months for damage or looseness. Broken parts can make the engraver unsafe or work poorly.
Also, check mirrors and lenses for dirt. Clean them when needed to keep them clear. Watching these parts closely prevents weak lasers or uneven engraving.
Note: Checking your machine every few months helps it last longer and work better.
Ensuring Proper Calibration
Calibration is key for accurate designs. Test the laser’s power every month to make sure it matches the settings. If it’s not calibrated, your designs may look uneven or materials could get damaged.
Run a power test and adjust the focus to check precision. If your machine has a cooling system, inspect it monthly to ensure it works well. These steps keep your engraver in top shape.
Storing and Maintaining the Machine
Storing the Machine Safely
When not using the engraver, keep it in a clean, dry place. Avoid areas with too much moisture or extreme heat, as these can harm the machine. Cover it with a dust-proof sheet to keep it clean.
Keep the workspace tidy and free of clutter. This lowers the chance of accidents and makes it easier to use the machine when needed.
Keeping a Maintenance Log
Writing down all repairs and cleanings is a smart idea. Record when you clean, replace parts, or adjust settings. This helps you track how the machine is doing over time.
Follow the manufacturer’s care instructions and note any advice from technicians. A maintenance log helps keep the machine safe and ready for upgrades or fixes.
Tip: Taking care of your machine saves money and keeps it running smoothly.
Staying safe is the most important part of using a laser engraver. Always wear the right eye protection, work in a well-ventilated area, and use materials that are safe for engraving. These steps help keep you and your machine safe while making the process more enjoyable.
Tip: Test materials first and watch the engraving closely to prevent problems.
Taking care of your engraver helps it last longer. Clean it often, check its parts for damage, and store it in a safe place. By following these tips, you can make amazing designs while staying safe and keeping your machine in great shape.