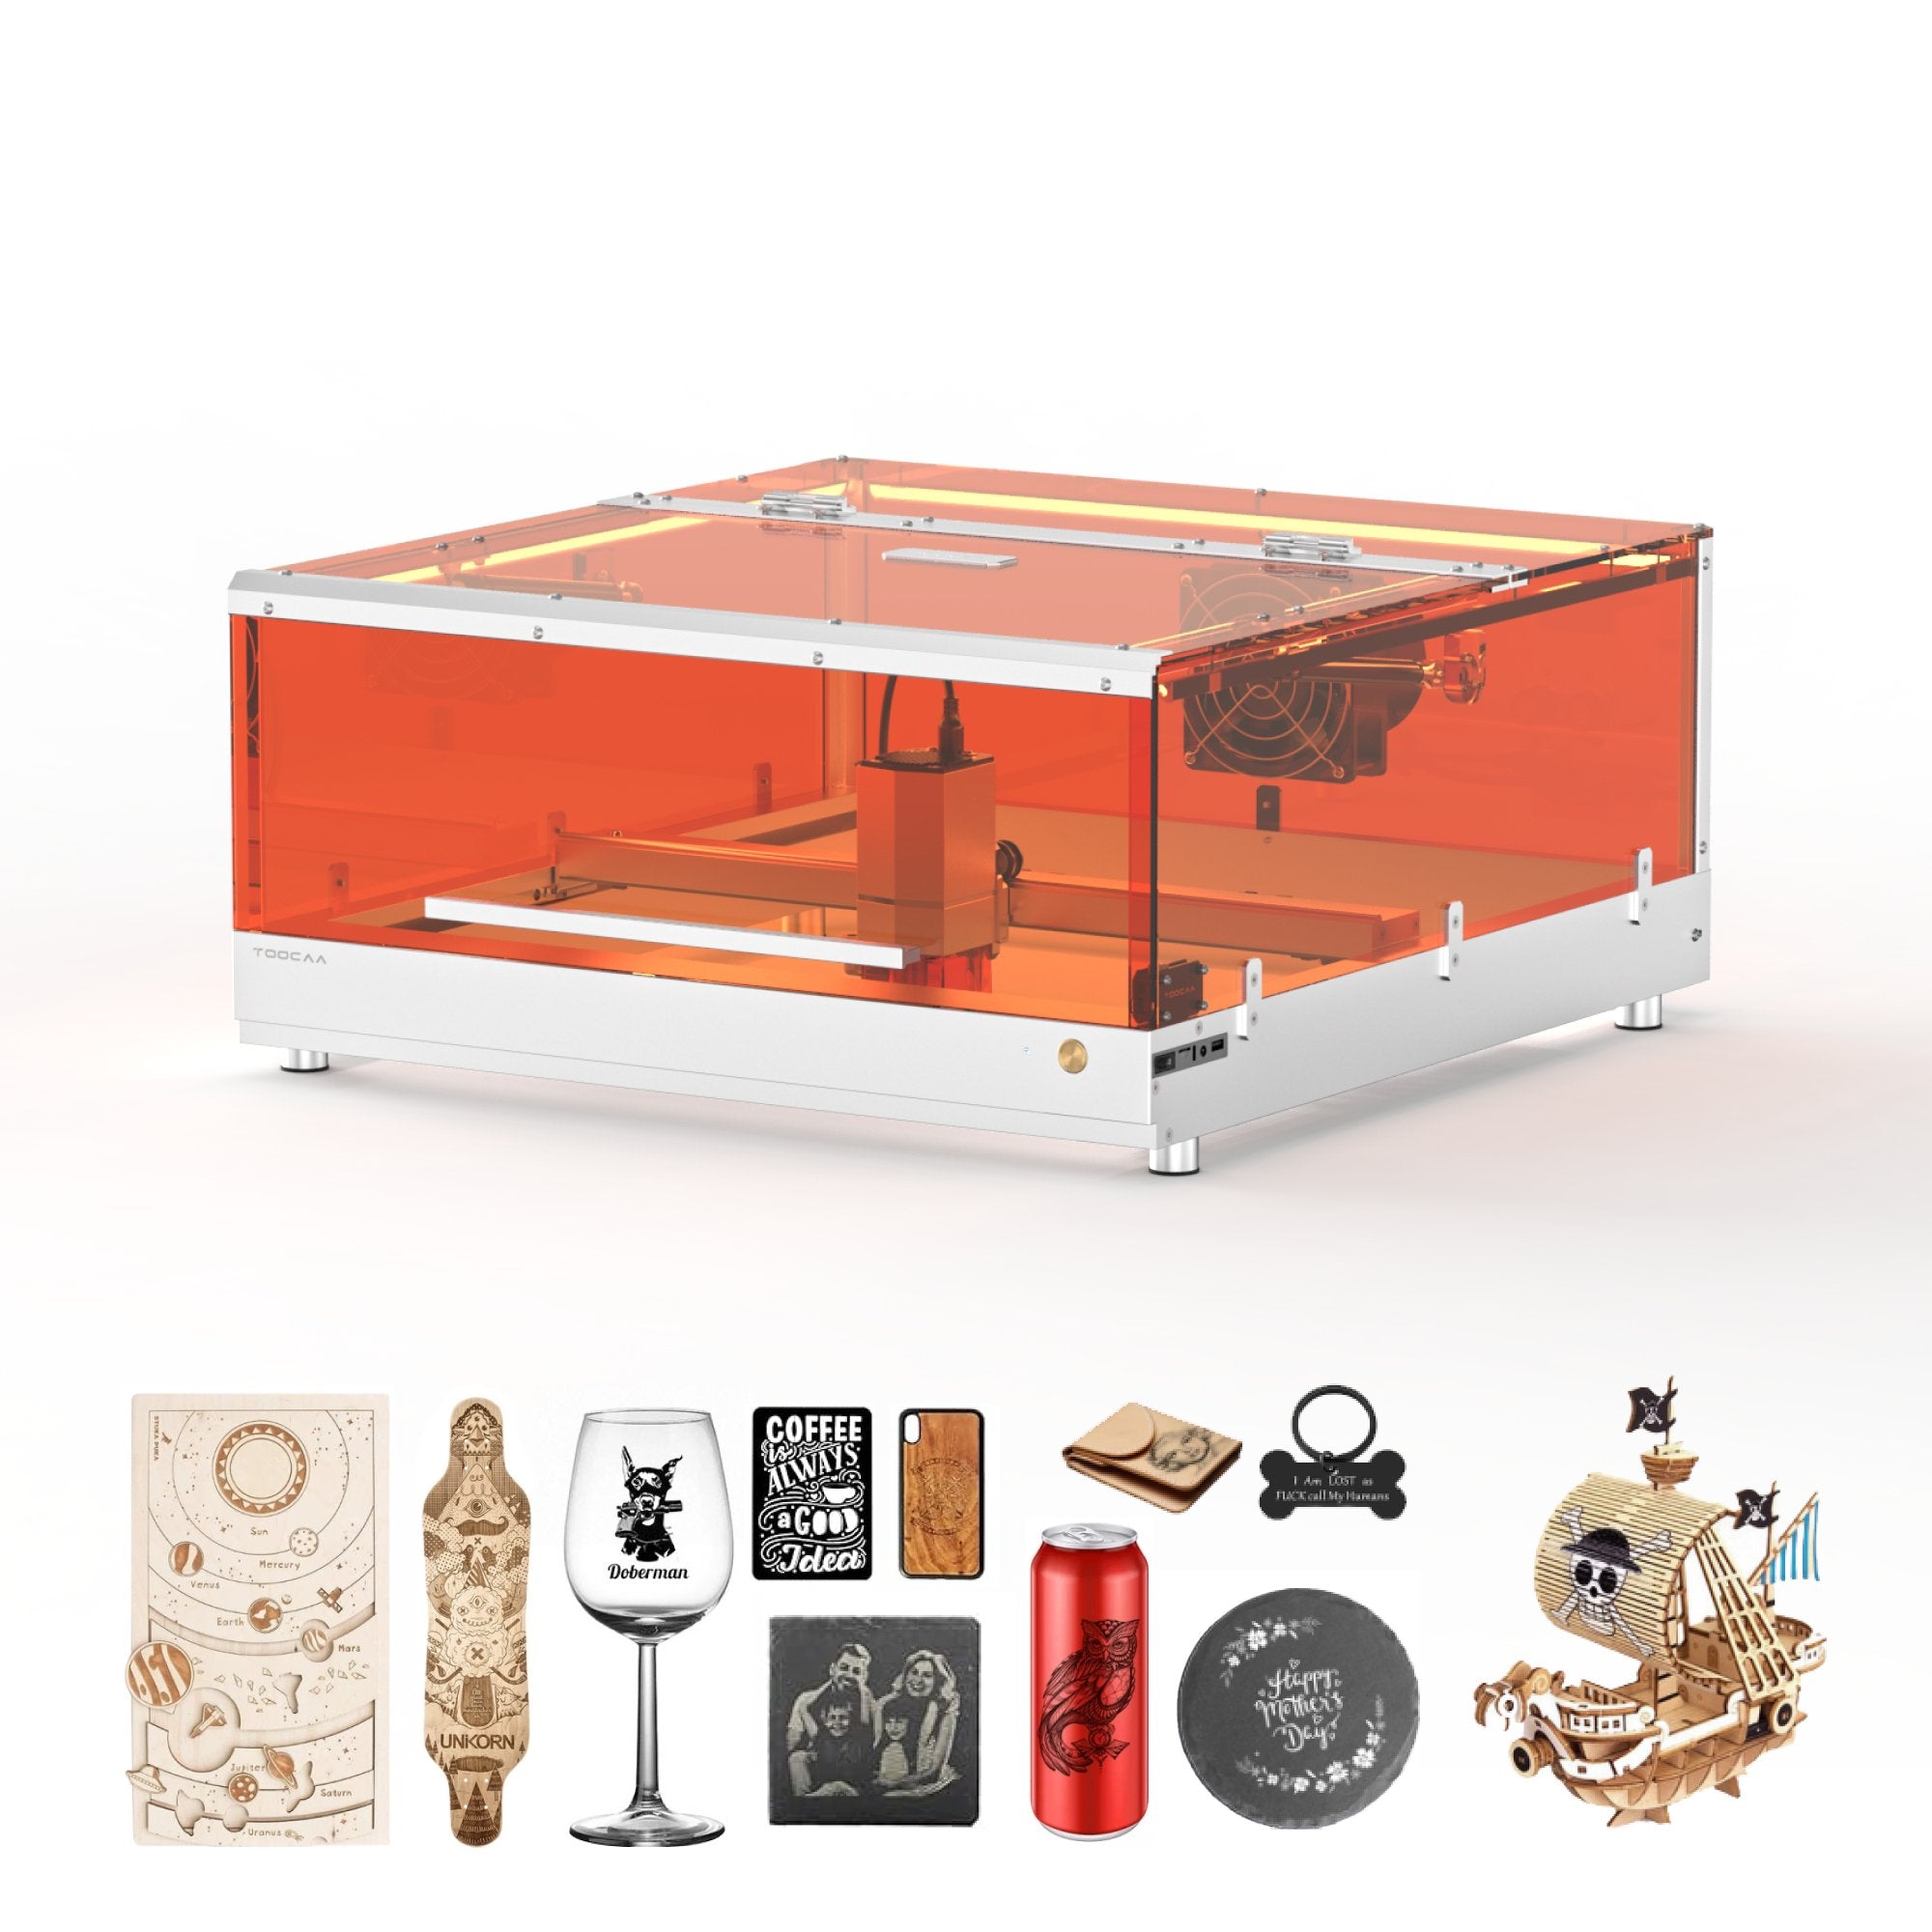
Es ist Weihnachtszeit! Nichts sorgt für mehr Stimmung als festliche Dekorationen. Warum bringen Sie Ihre Kreativität dieses Jahr nicht auf die nächste Stufe, indem Sie Ihre eigenen Weihnachtsdekorationen mit einem Laserschneider herstellen? Eine Laserschneidmaschine eröffnet endlose Möglichkeiten, einzigartige, personalisierte Weihnachtsdekorationen zu entwerfen und herzustellen, die Ihrem Zuhause Wärme und Charme verleihen. Von aufwendigen Schneeflocken bis hin zu individuellen Baumspitzen – die Möglichkeiten sind nur durch Ihre Vorstellungskraft begrenzt.
In diesem Blog stellen wir Ihnen einige fantastische Ideen vor, wie Sie mit einem Laserschneider Ihre Weihnachtsdekoration selbst gestalten können. Egal, ob Sie ein erfahrener Bastler oder ein Anfänger sind, diese Ideen helfen Ihnen, etwas wirklich Besonderes für die Feiertage zu schaffen.
DIY-Ideen für lasergeschnittene Weihnachtsdekorationen
1. Festliche Tischdekoration
Verleihen Sie Ihrem Festtagsessen einen zusätzlichen Hauch von Eleganz, indem Sie lasergeschnittene Tischdekorationen anfertigen.
- Materialoptionen : Holz oder Acryl eignen sich für dieses Projekt am besten.
-
Ideen zum Ausprobieren :
- Ein lasergeschnittenes Rentier- oder Schlitten-Mittelstück.
- Weihnachtsbaumsilhouetten mit darin platzierten Teelichtern für ein warmes Leuchten.
- Festliche Serviettenringe mit eingravierten Feiertagsmustern.
- Bilderrahmen für den Familienurlaub.

2. Wand- und Fensterdekorationen
Verwandeln Sie Ihre Wände und Fenster mit lasergeschnittenen Dekorationen in ein festliches Wunderland.
- Materialoptionen : Dünnes Holz, Karton oder Acryl.
-
Ideen zum Ausprobieren :
- Eine große, mehrschichtige Wanddekoration mit dem Weihnachtsmann und seinem Schlitten.
- Fensterbehänge wie Schneeflocken, Sterne oder Engel.
- Ein lasergeschnittenes „Frohe Weihnachten“-Schild zur Begrüßung Ihrer Gäste.
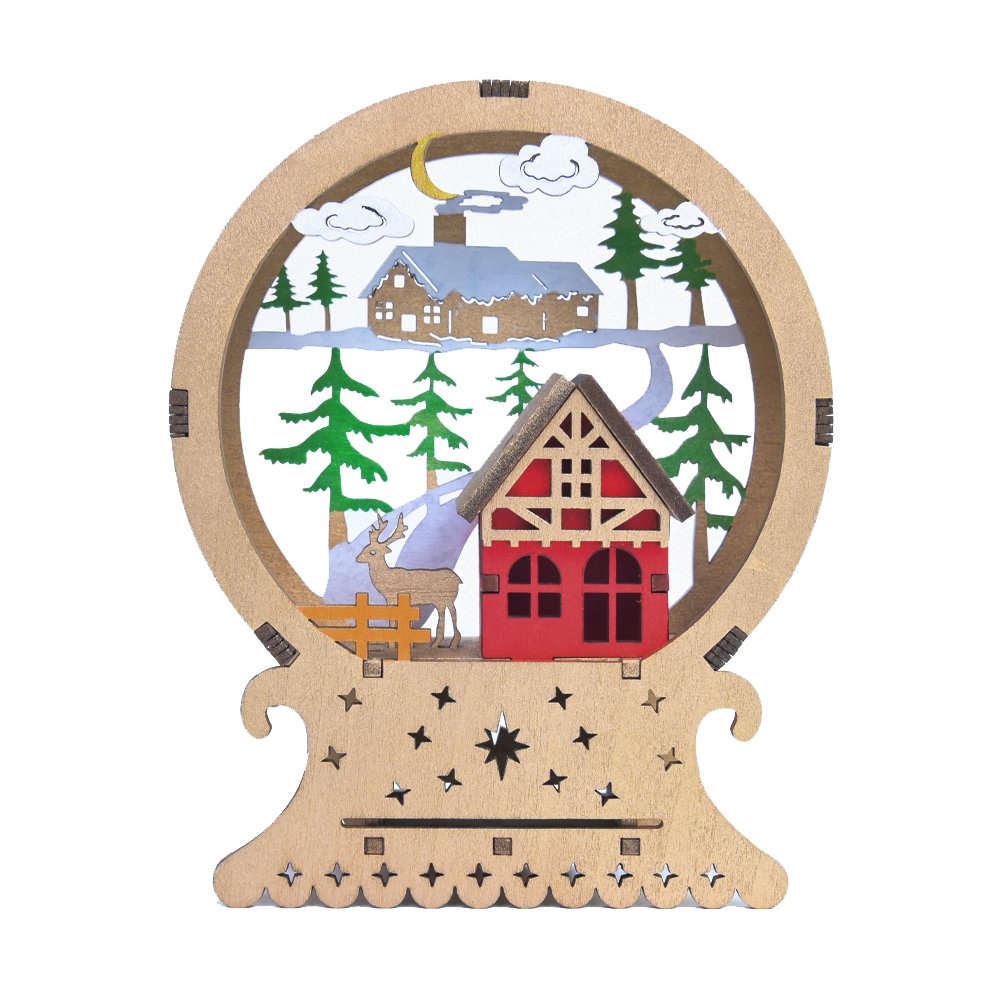
- Schneebedeckte Waldszene

(entworfen von MyHelloWood)
3. Individuelle Baumdekorationen
Christbaumschmuck verleiht Ihrer Weihnachtsdekoration eine persönliche und festliche Note. Mit einem Laserschneider können Sie einzigartige, filigrane Designs erstellen, die an Ihrem Baum hervorstechen.
- Materialoptionen : Acryl für einen leuchtenden Effekt oder Holz für einen klassischen Look.
-
Ideen zum Ausprobieren :
- Personalisierte Ornamente : Erstellen Sie Ornamente mit der Gravur Ihres Familiennamens, Ihrer Initialen oder eines bedeutungsvollen Datums.
- Festliche Formen : Schneiden Sie klassische Formen wie Schneeflocken, Sterne, Rentiere oder Strümpfe mit detaillierten Mustern aus.
- 3D-Ornamente in mehreren Schichten : Entwerfen Sie mehrschichtige Ornamente, die Feiertagselemente wie Bäume, Glocken oder den Weihnachtsmann für einen räumlicheren Effekt kombinieren.
- Foto-Ornamente : Integrieren Sie einen kleinen Ausschnitt oder Rahmen, um Familienfotos am Baum zu präsentieren.
- Leuchtende Ornamente : Verwenden Sie Acryl- und LED-Lichter, um leuchtende Dekorationen zu erstellen, die Ihrem Baum eine magische Note verleihen.

4. DIY Adventskalender
Gestalten Sie einen Adventskalender, der sowohl schön als auch praktisch ist. Ein lasergeschnittener Kalender ermöglicht Ihnen die Einarbeitung komplexer Designs und persönlicher Details.
- Materialoptionen : Holz oder Acryl.
-
Ideen zum Ausprobieren :
- Ein Adventskalender in Baumform mit kleinen Schubladen oder Fächern etc. für Leckereien.
- Ein wandmontiertes Design mit nummerierten Fächern für kleine Geschenke oder Notizen.
- Ein wiederverwendbarer Kalender, der Jahr für Jahr zur Familientradition wird.


5. Weihnachtstassenständer
Mithilfe eines Laserschneiders können Sie festliche und funktionale Tassenständer herstellen, auf denen Sie Ihre weihnachtlich gestalteten Tassen zur Schau stellen können.
- Materialoptionen : Holz für einen rustikalen Look, Acryl für eine moderne Atmosphäre oder MDF als kostengünstige Option.
-
Ideen zum Ausprobieren :
- Baumförmiges Gestell : Gestalten Sie das Tassengestell in Form eines Weihnachtsbaums mit Haken zum Aufhängen von Tassen. Fügen Sie zur Dekoration lasergeschnittene Ornamente oder Sterne hinzu.
- Wandregal : Gestalten Sie ein kompaktes Regal mit eingravierten Feiertagsmotiven wie Rentieren, Schneeflocken oder Strümpfen. Perfekt, um Platz auf der Arbeitsfläche zu sparen.
- Heiße Kakaobar-Station : Kombinieren Sie einen Tassenständer mit einem Halter für Löffel und kleinen Ablagen für heißen Kakaomix oder Marshmallows.
- Gravierter Text : Fügen Sie Sätze wie „Herzliche Grüße“ oder „Heiße Schokolade-Station“ hinzu, um es festlicher zu gestalten.
-
Rustikales Regal : Verwenden Sie Naturholz und dekorieren Sie die Kanten mit lasergeschnittenen Stechpalmenblättern oder Glöckchen für ein traditionelles Feiertagsgefühl.

Tipps für erfolgreiche Laserschnittprojekte
-
Zuerst testen : Testen Sie Ihr Design immer an einem Reststück, bevor Sie mit Ihrem endgültigen Projekt beginnen.
-
Halten Sie es einfach : Wenn Sie Anfänger sind, beginnen Sie mit einfachen Designs und arbeiten Sie sich allmählich zu komplexeren Projekten vor.
-
Sicherheit geht vor : Sorgen Sie für eine ausreichende Belüftung und beachten Sie die Sicherheitsvorkehrungen, wenn Sie Ihren Laserschneider verwenden.
-
Experimentieren Sie mit Oberflächen : Fügen Sie eine Schicht Farbe, Beize oder Lack hinzu, um das Aussehen Ihres fertigen Projekts zu verbessern.
Machen Sie dieses Weihnachten mit DIY-Dekorationen zu etwas Besonderem
Das Erstellen eigener Weihnachtsdekorationen mit einem Laserschneider ist eine lohnende und unterhaltsame Art, die Feiertage zu feiern. Ob Sie nun Weihnachtsschmuck, Tischdekorationen oder individuelle Baumdekorationen herstellen, mit diesen Projekten können Sie Ihrer Kreativität freien Lauf lassen und Ihrer Weihnachtsdekoration eine persönliche Note verleihen.
Sammeln Sie Ihre Materialien, starten Sie Ihren Laserschneider und beginnen Sie mit der Herstellung von Dekorationen, die dieses Weihnachten unvergesslich machen. Frohe Weihnachten und viel Spaß beim Basteln!
