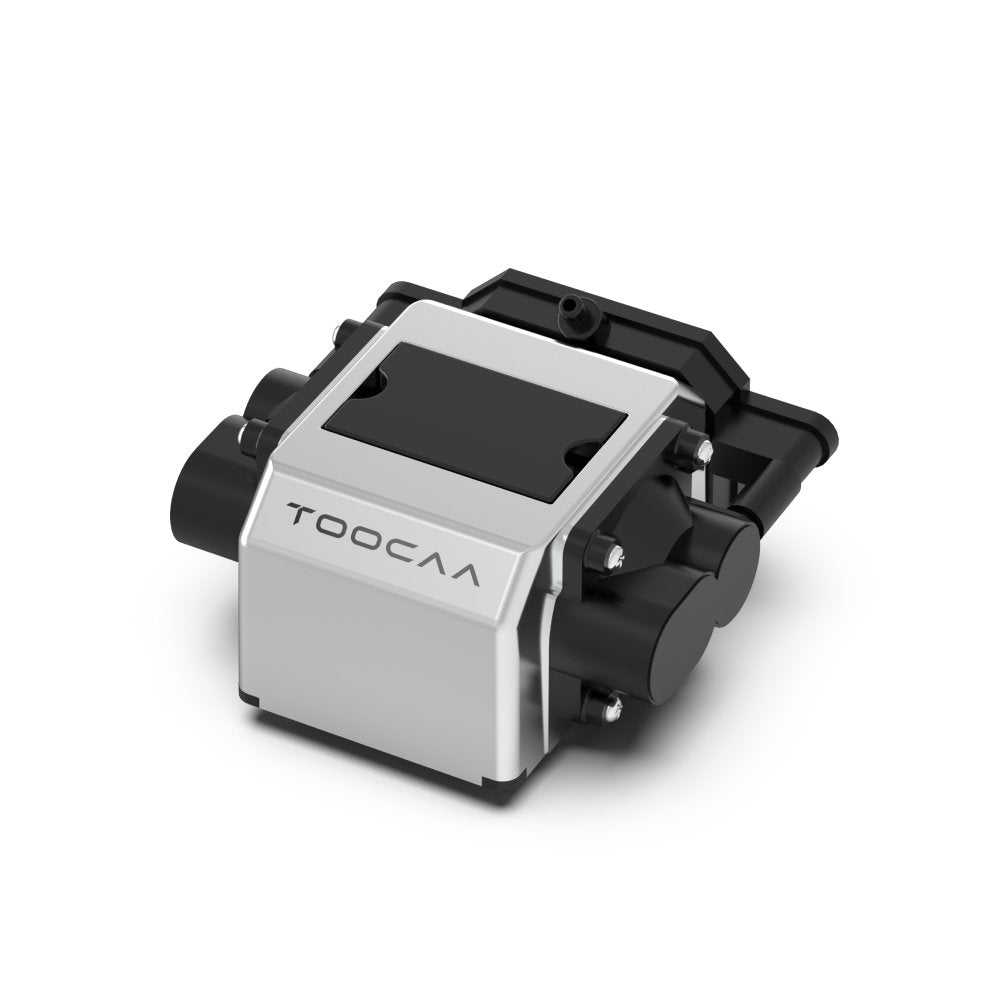


Erfahren Sie mehr über das TOOCAA-Lasermodul
|
TOOCAA Lasermodul |
||||
|
Laserleistung |
2W |
10 W |
20 W |
40 W |
|
Wellenlänge |
655 ± 5 nm (Wellenlänge des sichtbaren Lichts) |
455 ± 5 nm |
||
|
1064 ± 1 nm (Wellenlänge des unsichtbaren Lichts) |
||||
|
Adapterspezifikationen |
24,0 V ⎓ 5,0 A 120,0 W |
24 V⎓3,0 A 72,0 W |
24,0 V⎓5,0 A 120,0 W |
24,0 V⎓10,0 A 240,0 W |
|
Spotgröße |
0,03 x 0,03 mm |
0,08 x 0,18 mm |
0,15 x 0,27 mm |
0,13 x 0,15 mm |
Tutorial zur Installation des TOOCAA-Lasermoduls
Schritt 1 Schalten Sie die Maschine aus.

Schritt 2 Ziehen Sie den Werkzeugverriegelungsarm nach oben, um die Bewegungsbaugruppe der X-Achse zu öffnen.

Schritt 3 Bewegen Sie das Lasermodul entlang des Schlittens nach unten.
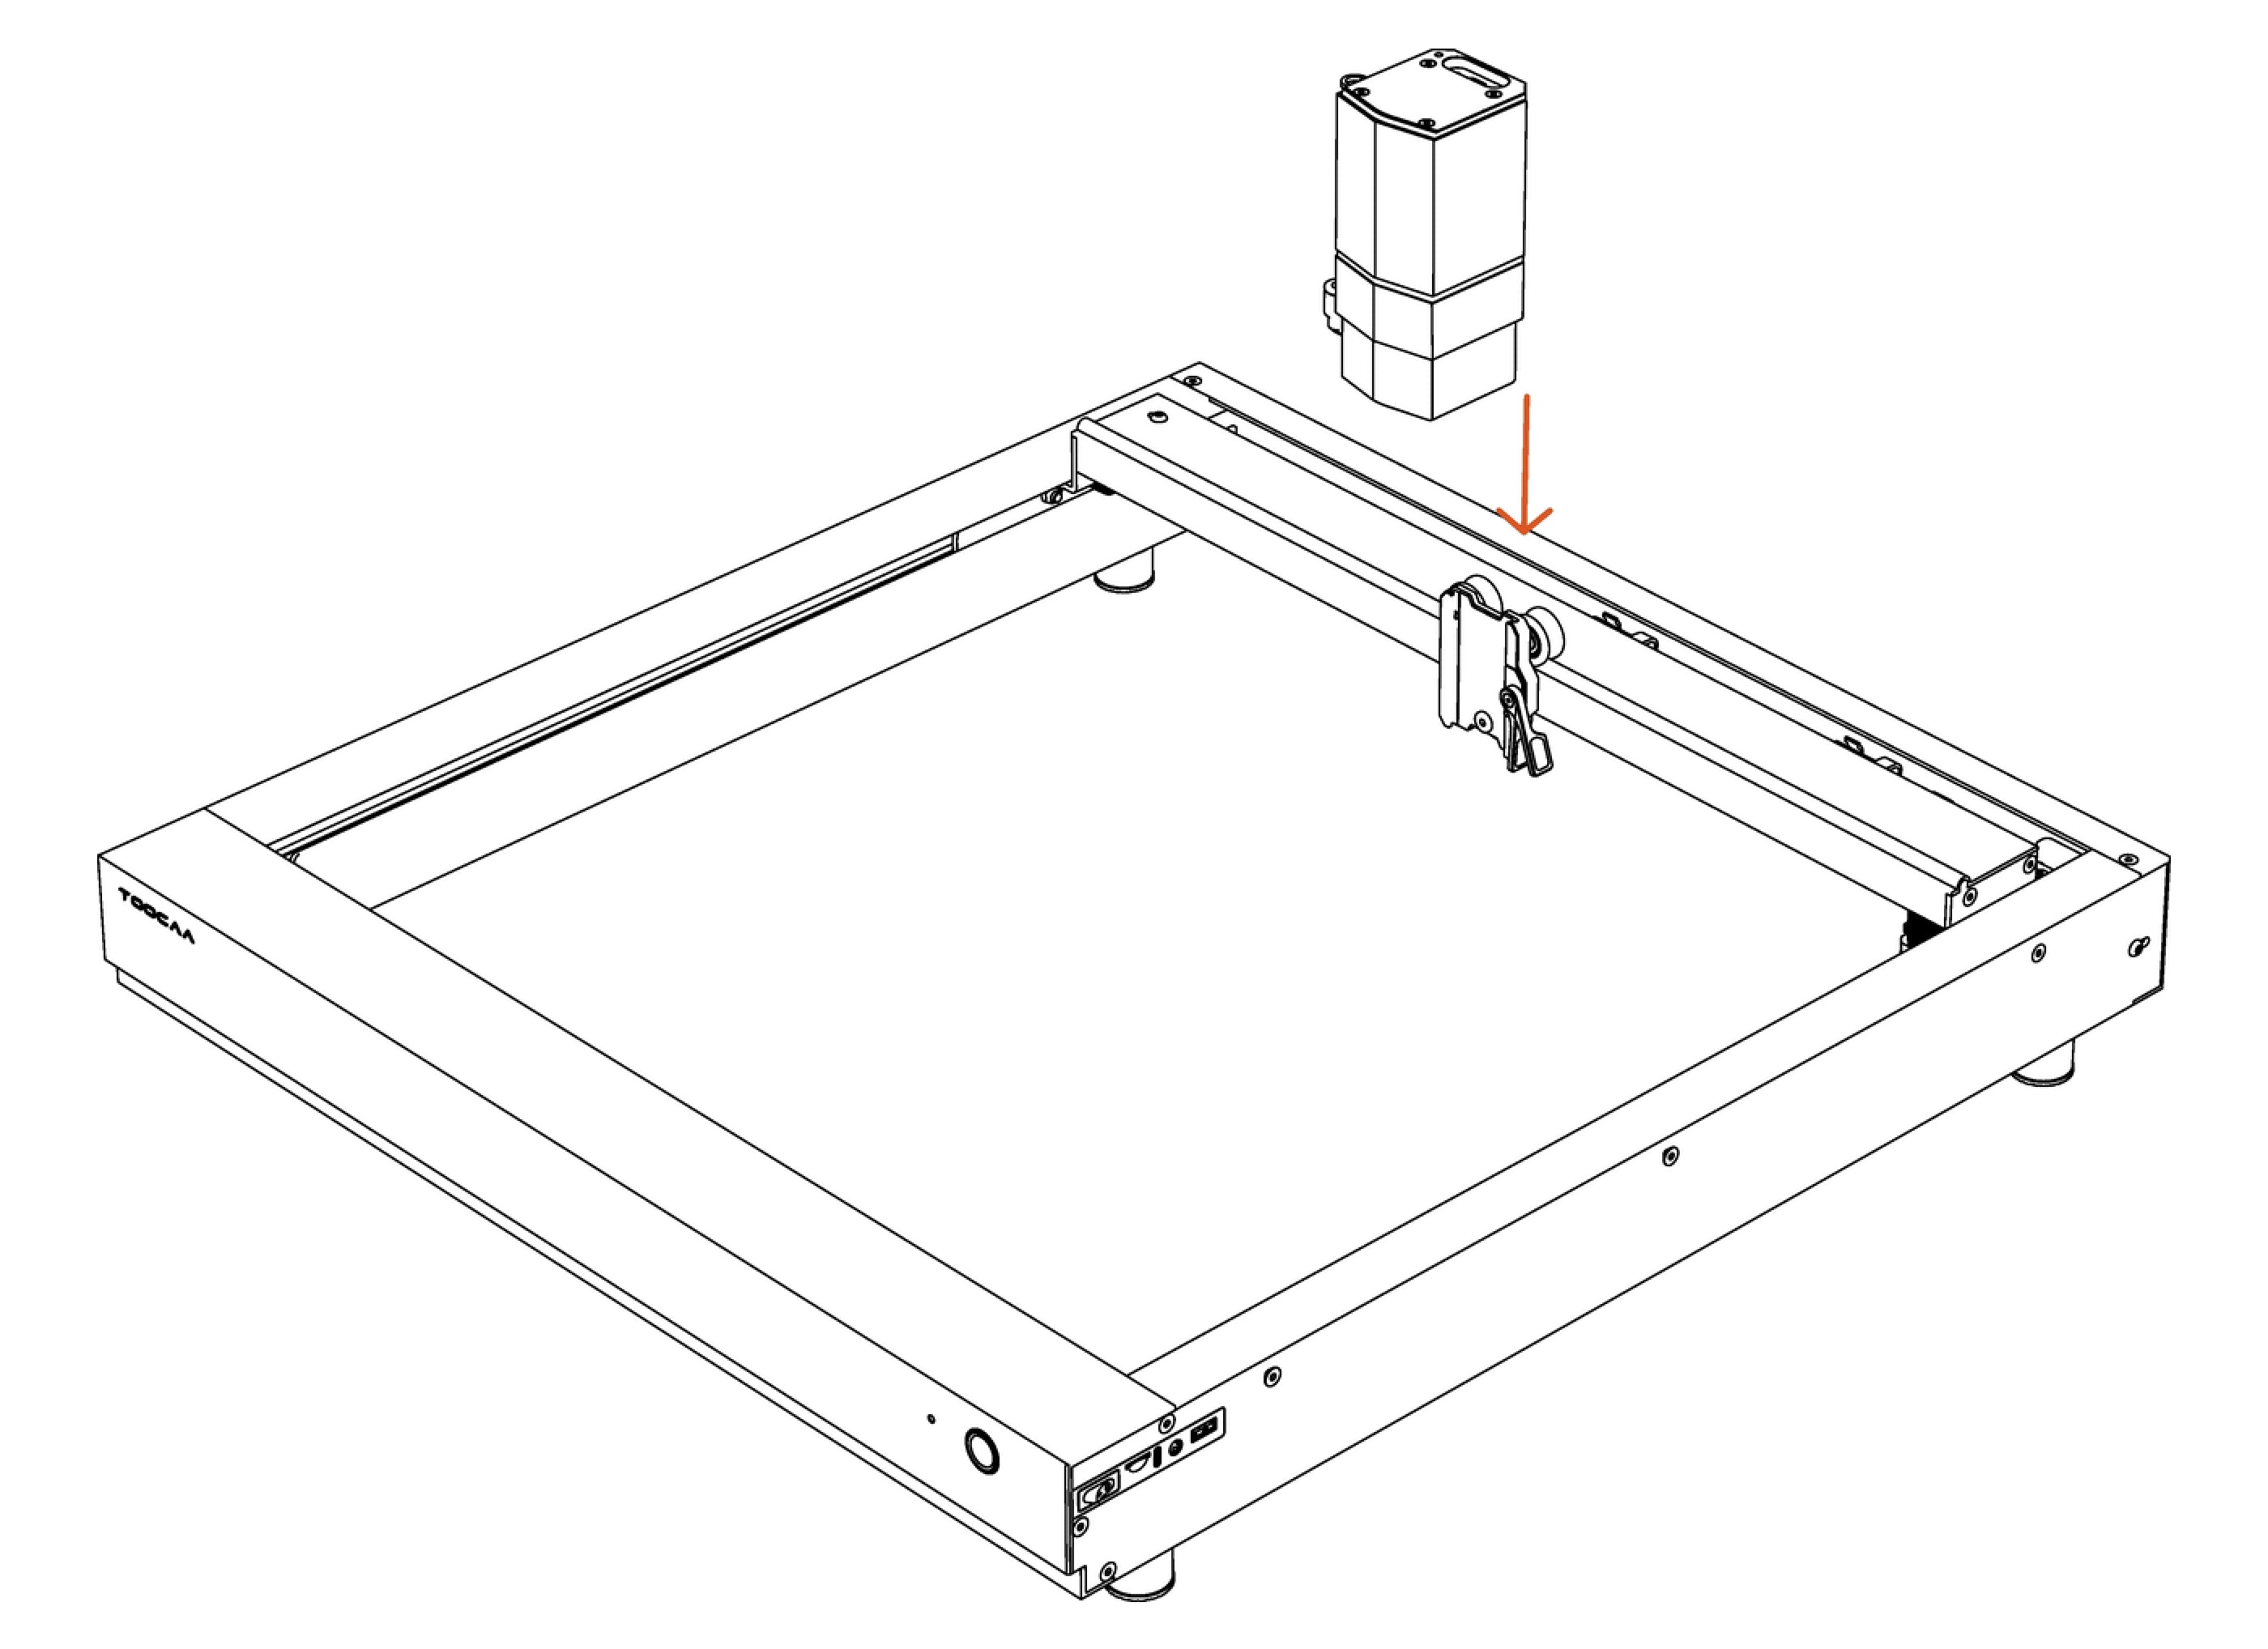
Schritt 4 Drücken Sie den Werkzeugverriegelungsarm nach unten, um das Lasermodul zu sichern.
Schritt 5 Schließen Sie das USB-Signalkabel an und ziehen Sie die Schrauben fest.

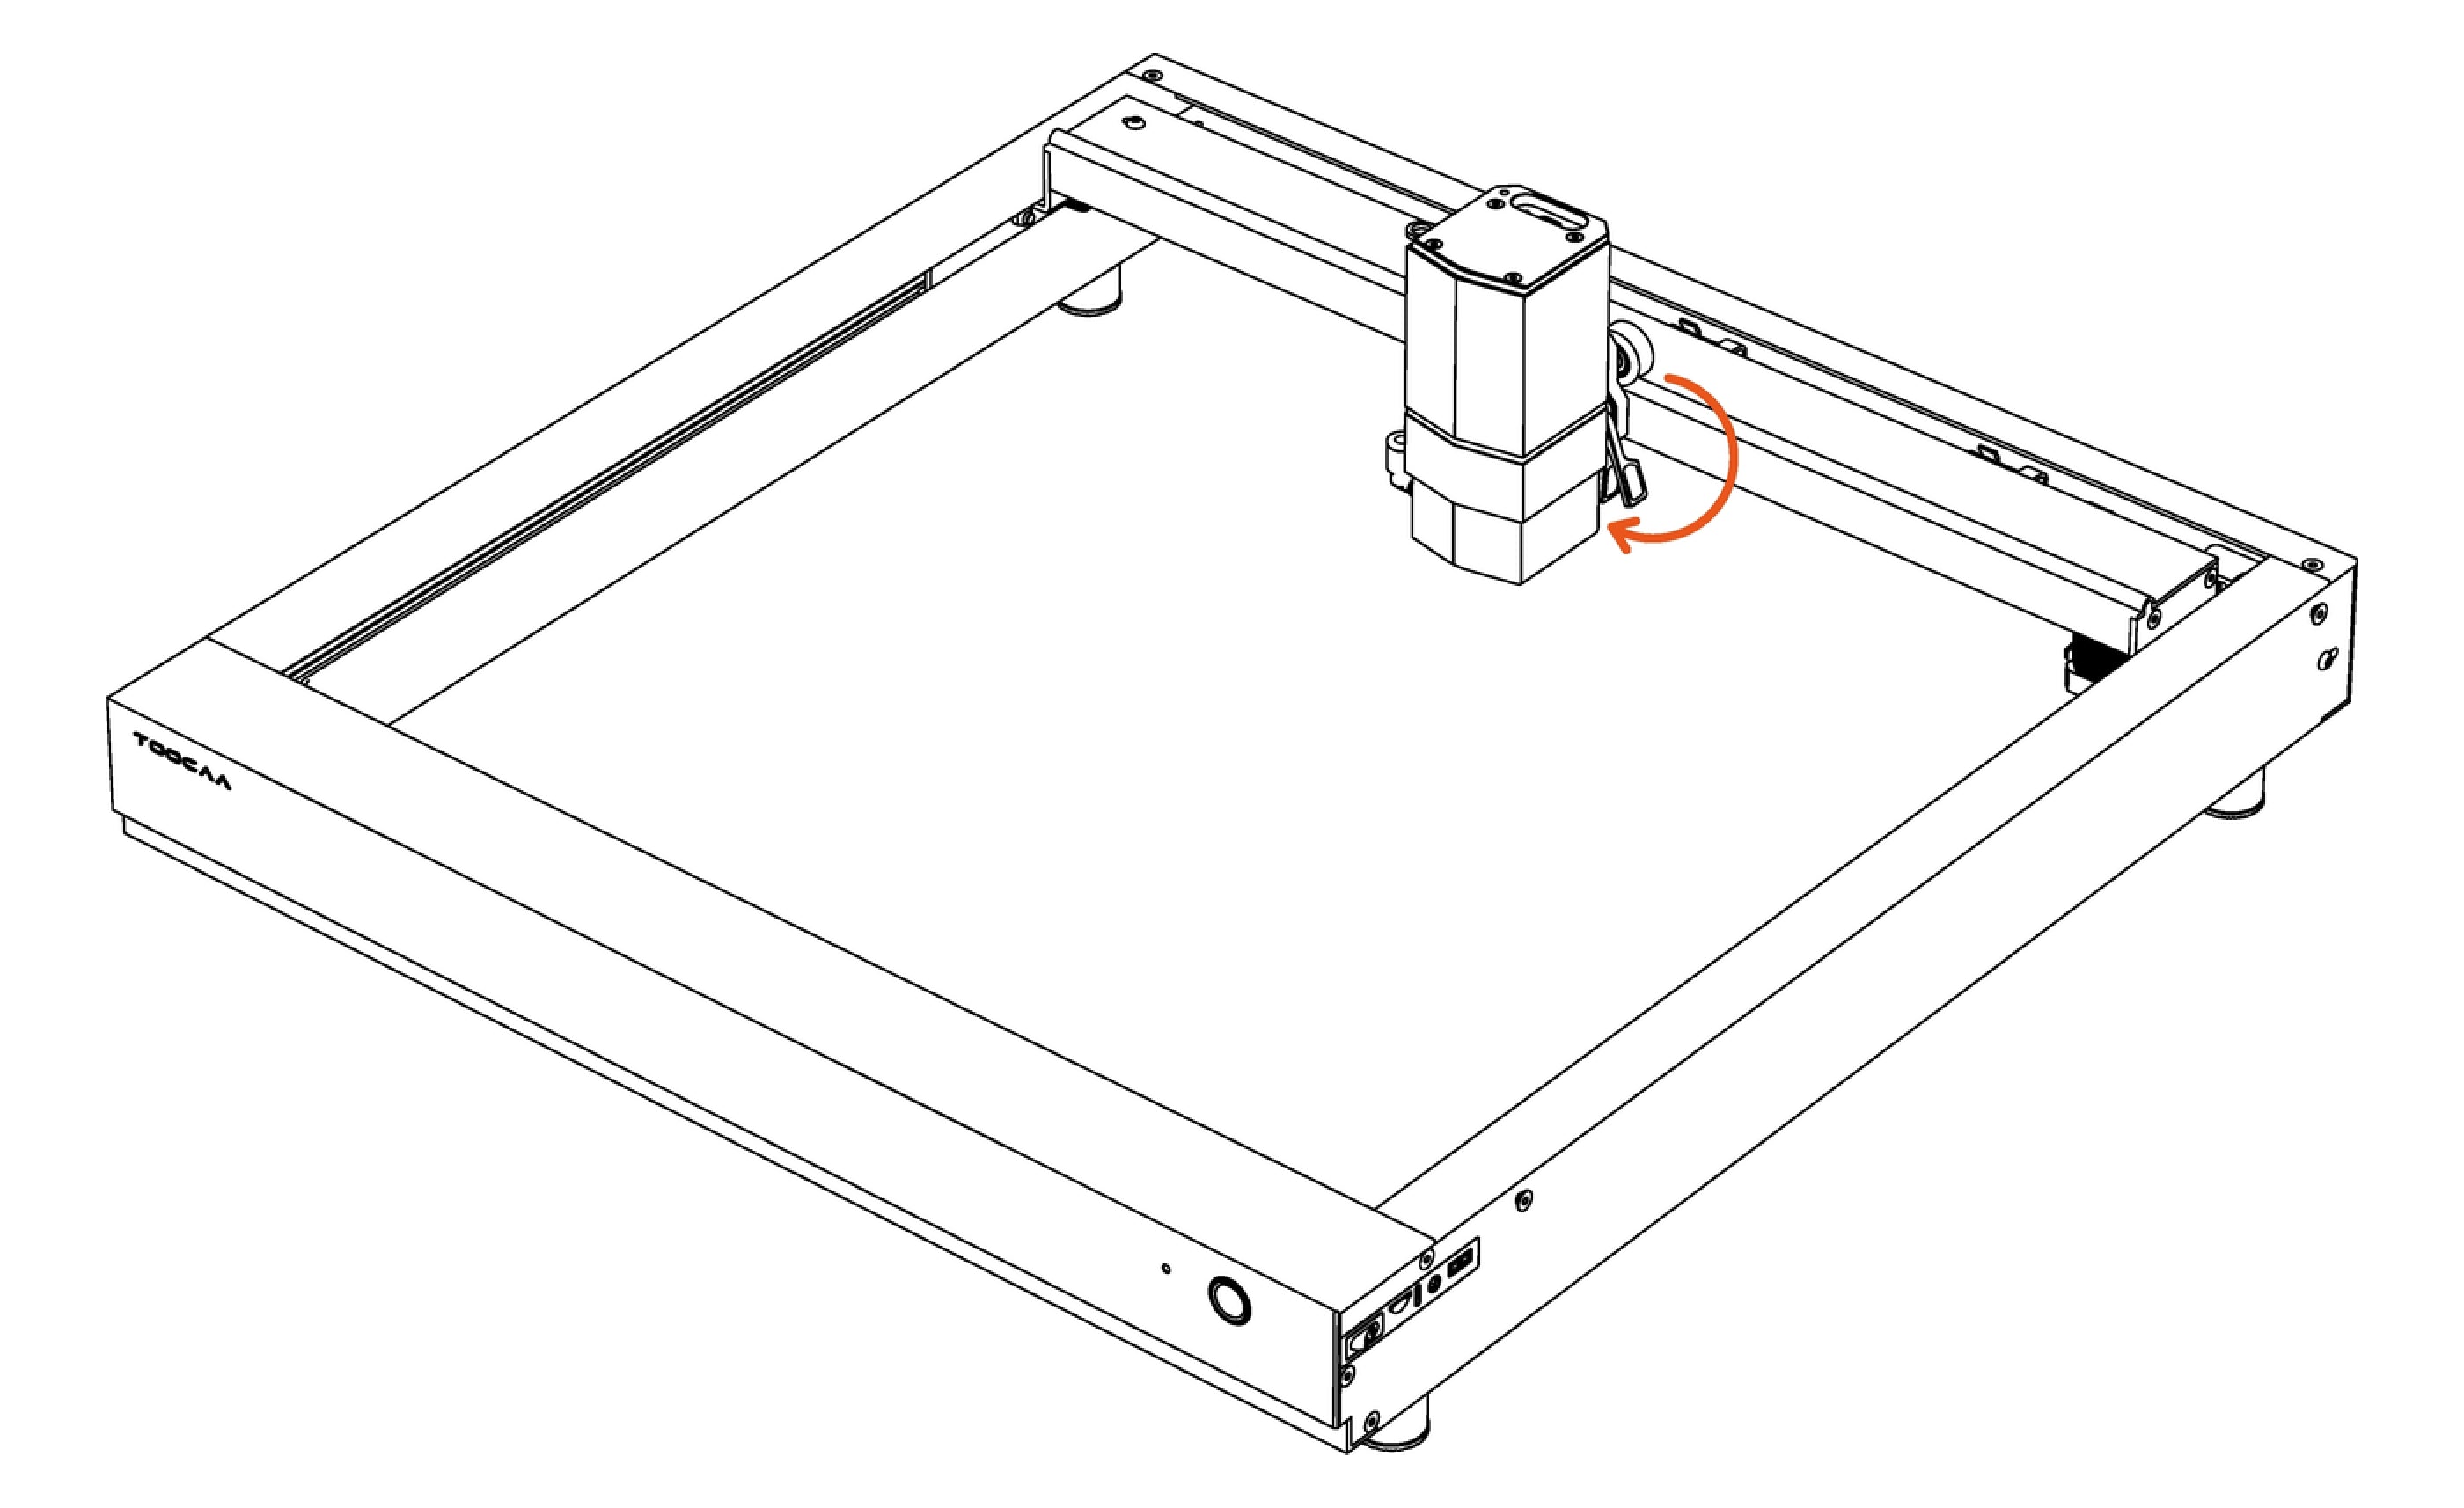
Tutorial zum Entfernen des TOOCAA-Lasermoduls
Schritt 1 Schalten Sie die Maschine aus.

Schritt 2 Entfernen Sie das USB-Signalkabel, nachdem Sie die Schrauben gelöst haben. 
Schritt 3 Ziehen Sie den Werkzeugverriegelungsarm nach oben, um die Bewegungsbaugruppe der X-Achse zu öffnen.

Schritt 4 Schieben Sie das Lasermodul entlang des Schlittens nach oben, um es zu entfernen. 
Häufig gestellte Fragen
1. Das Lasermodul lässt sich nicht effektiv fixieren / das Lasermodul verrutscht leicht
Lösungsschritte:
Schritt 1: Nehmen Sie das Lasermodul heraus.  Schritt 2: Entfernen Sie die äußere Schraube und den Werkzeugverriegelungsarm.

Schritt 3: Passen Sie die Festigkeit der Schraube im Werkzeugschlitten an.
TIPPS: Die Einstellung im Uhrzeigersinn dient zum Festziehen und die Einstellung gegen den Uhrzeigersinn zum Lösen. Bitte entsprechend der tatsächlichen Situation anpassen.

Im Uhrzeigersinn festziehen

Gegen den Uhrzeigersinn lösen